49+ Eglu Chicken Coop Reviews

 www.backyardboss.net
 Introduction: Building a DIY Chicken Coop Ready to welcome some feathered friends to your backyard? Building your own chicken coop is a rewarding project! It allows you to customize the coop to your specific needs and space constraints. This guide provides a step-by-step process for constructing a basic, functional, and secure chicken coop.
Planning and Design Before you start hammering and sawing, careful planning is crucial. Consider these factors: Number of Chickens: A general rule is 4 square feet of coop space per chicken and 8-10 square feet of run space. Location: Choose a well-drained location with partial shade. Avoid low-lying areas prone to flooding. Consider proximity to your house for easy access. Dimensions: Based on the number of chickens, determine the overall dimensions of the coop and run. A common size for 4-6 chickens is a 4ft x 6ft coop with an attached 8ft x 12ft run. Materials: Create a materials list based on your design. Common materials include lumber (pressure-treated for ground contact), chicken wire or hardware cloth, roofing materials (shingles, metal roofing), nails, screws, hinges, and latches. Permits: Check with your local authorities for any required permits or regulations regarding chicken coops.
Step 1: Building the Base The base of your coop provides a stable foundation. Frame Construction: Build a rectangular frame using pressure-treated lumber. Ensure the frame is square and level. Skirting (Optional): Add a skirt of hardware cloth around the base to prevent digging predators. Bury the skirt several inches deep into the ground. Flooring (Optional): You can add a wooden floor to the coop or leave it with a dirt floor. A wooden floor provides better protection from rodents and makes cleaning easier. If using a wooden floor, ensure it's well-sealed to prevent moisture damage.
Step 2: Framing the Coop Walls Construct the walls of the coop, keeping in mind the necessary openings for the door and windows. Wall Framing: Build wall frames using 2x4 lumber. Ensure the frames are square and plumb. Cutouts: Create openings for the door and windows. Reinforce these openings with additional framing. Attach Walls: Attach the wall frames to the base using screws or nails. Ensure the walls are securely fastened.
Step 3: Building the Roof The roof protects your chickens from the elements. Rafters: Cut rafters to the desired angle for the roof slope. Roof Frame: Attach the rafters to the wall frames, creating a stable roof frame. Sheathing: Cover the roof frame with plywood or OSB sheathing. Roofing Material: Install your chosen roofing material (shingles, metal roofing) according to the manufacturer's instructions. Ensure the roof is watertight.
Step 4: Building the Door and Windows Provide access and ventilation to the coop. Door Construction: Build a sturdy door using lumber and hinges. Window Construction: Create window frames and install hardware cloth for ventilation. Consider using plexiglass or other clear materials for added weather protection. Installation: Install the door and windows into the framed openings.
Step 5: Building the Run The run provides a safe outdoor space for your chickens. Frame Construction: Build a frame for the run using lumber. Wire Enclosure: Cover the frame with chicken wire or hardware cloth. Ensure the wire is securely attached to the frame. Attach to Coop: Attach the run to the coop, providing a seamless transition for the chickens. Roofing (Optional): Add a roof to the run for added protection from rain and sun.
Step 6: Adding Features and Finishing Touches Customize the coop with essential features and details. Roosting Bars: Install roosting bars inside the coop. Allow 8-10 inches of roosting space per chicken. Nesting Boxes: Build or purchase nesting boxes. Provide one nesting box for every 3-4 chickens. Place them in a dark, quiet area of the coop. Ventilation: Ensure adequate ventilation in the coop to prevent moisture buildup. Vents should be placed near the top of the walls. Latches and Locks: Install secure latches and locks on the door and windows to protect your chickens from predators. Finishing: Paint or stain the coop to protect it from the elements and add a touch of style.
Conclusion: Enjoy Your New Chicken Coop! Congratulations! You've built your own chicken coop. With proper planning, construction, and maintenance, your coop will provide a safe and comfortable home for your chickens for years to come. Enjoy the fresh eggs and the rewarding experience of raising your own backyard chickens!
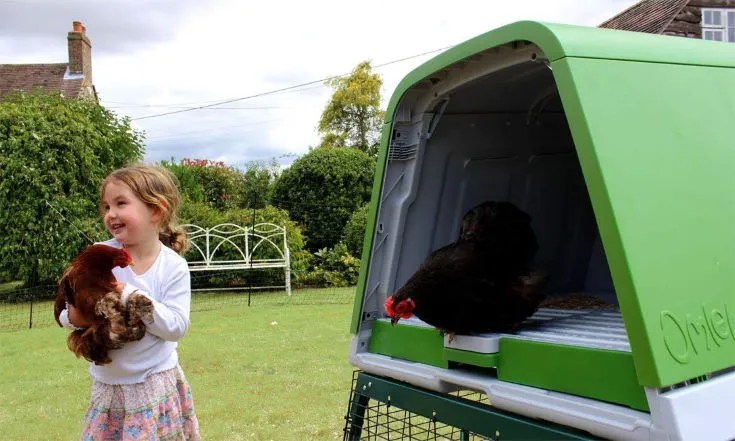
Omlet Eglu Chicken Coop Reviews
 www.backyardboss.net
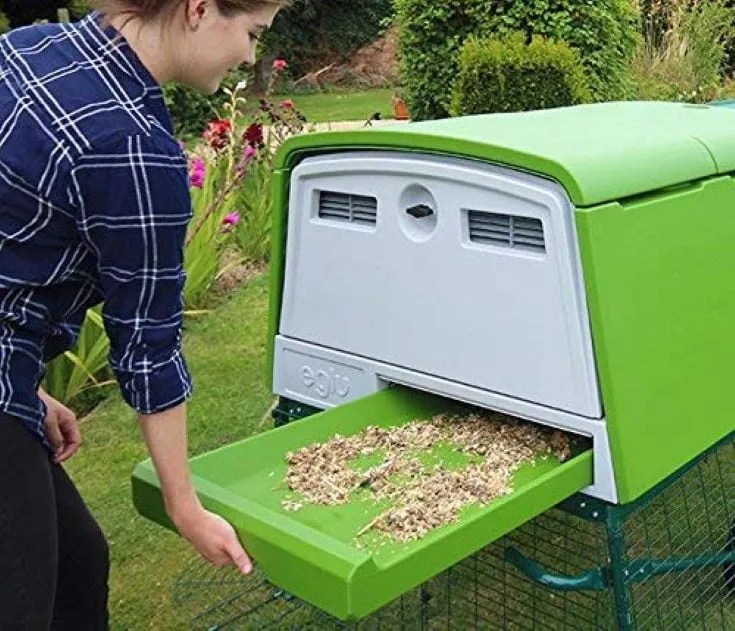
 Omlet Eglu Chicken Coop Reviews
 www.backyardboss.net
 Omlet Eglu Chicken Coop Reviews
www.backyardboss.net

0 Comments