127+ Storage Shed Ideas

 nellisab.blogspot.com ```html
 Opening: Your Dream DIY Storage Shed Awaits! Ready to declutter your life and gain some much-needed outdoor storage space? Building your own shed can be a rewarding and cost-effective project. This guide will walk you through the steps to construct a simple yet functional storage shed from scratch. Let's get started!
Step 1: Planning and Preparation Determine the Size and Location: Before you start building, decide how large you want your shed to be and where it will be located. Consider local building codes and any required permits. Ensure the ground is relatively level and that you have adequate clearance around the shed for maintenance. Create a Detailed Plan: Draw a detailed plan of your shed, including dimensions, materials list, and construction details. This will serve as your blueprint throughout the project. There are many free shed plans available online that you can adapt to your specific needs. Gather Your Materials and Tools: Based on your plan, create a comprehensive list of all the materials you'll need, including lumber, roofing materials, siding, fasteners, and concrete for the foundation. Also, gather the necessary tools, such as a saw, drill, level, square, hammer, measuring tape, and safety gear.
Step 2: Building the Foundation Prepare the Site: Clear the area where your shed will be located, removing any vegetation, rocks, or debris. Construct a Gravel Base (Optional but Recommended): Spread a layer of gravel (about 4-6 inches deep) over the cleared area. This will improve drainage and prevent water from pooling around the base of the shed. Build a Wooden Frame Foundation: Construct a rectangular frame using pressure-treated lumber. This frame will sit on the gravel base (or directly on the ground if you're skipping the gravel). Ensure the frame is square and level. (Alternative) Concrete Pad Foundation: For a more permanent foundation, pour a concrete pad. Build wooden forms to contain the concrete and ensure it is level before it sets.
Step 3: Framing the Walls Cut the Wall Studs: Cut the lumber for the wall studs according to your plan. The standard spacing for studs is 16 inches on center. Assemble the Wall Frames: Construct the wall frames by attaching the studs to the top and bottom plates using nails or screws. Ensure the frames are square. Raise and Secure the Walls: Carefully raise each wall frame and secure it to the foundation frame using nails or screws. Use a level to ensure the walls are plumb. Add Corner Bracing: Install diagonal bracing at the corners of the walls to provide extra stability.
Step 4: Constructing the Roof Build Rafters or Trusses: Construct rafters or trusses for the roof according to your plan. Trusses are generally easier to build for beginners. Install the Rafters or Trusses: Attach the rafters or trusses to the top plates of the walls, ensuring they are evenly spaced and securely fastened. Sheathe the Roof: Cover the rafters or trusses with plywood or OSB sheathing, securing it with nails or screws. Install Roofing Materials: Install roofing felt or underlayment followed by your chosen roofing material, such as asphalt shingles, metal roofing, or cedar shakes. Follow the manufacturer's instructions for proper installation.
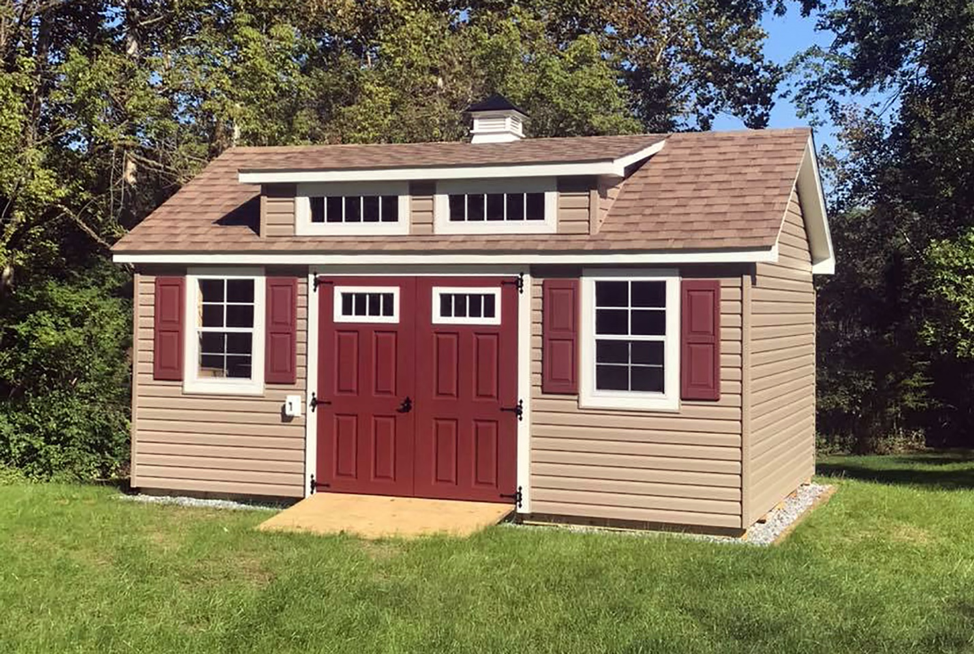
Step 5: Adding Siding and Finishing Touches Install Siding: Install the siding on the exterior walls, starting from the bottom and working your way up. Overlap the siding as recommended by the manufacturer. Install a Door: Frame and install a door in one of the walls. Use a pre-hung door for easier installation. Install Windows (Optional): If desired, frame and install windows in the walls. Add Trim: Install trim around the doors, windows, and corners to give the shed a finished look. Paint or Stain: Paint or stain the shed to protect the wood and give it a finished appearance.
Conclusion: Enjoy Your New Storage Space! Congratulations! You've successfully built your own DIY storage shed. Now you can organize your tools, equipment, and other belongings, keeping them safe and protected from the elements. Enjoy your newfound storage space and the satisfaction of knowing you built it yourself! Remember to regularly inspect and maintain your shed to ensure it lasts for many years to come.
``` Premium Storage Shed Plans Available For Instant Download
nellisab.blogspot.com 7 Useful Shed Storage Ideas
 www.mysheds.com
 27 Fantastic Storage Shed Ideas For Your Garden
 www.artofit.org

0 Comments