161+ Tuffshed Lock

 www.tuffshed.com
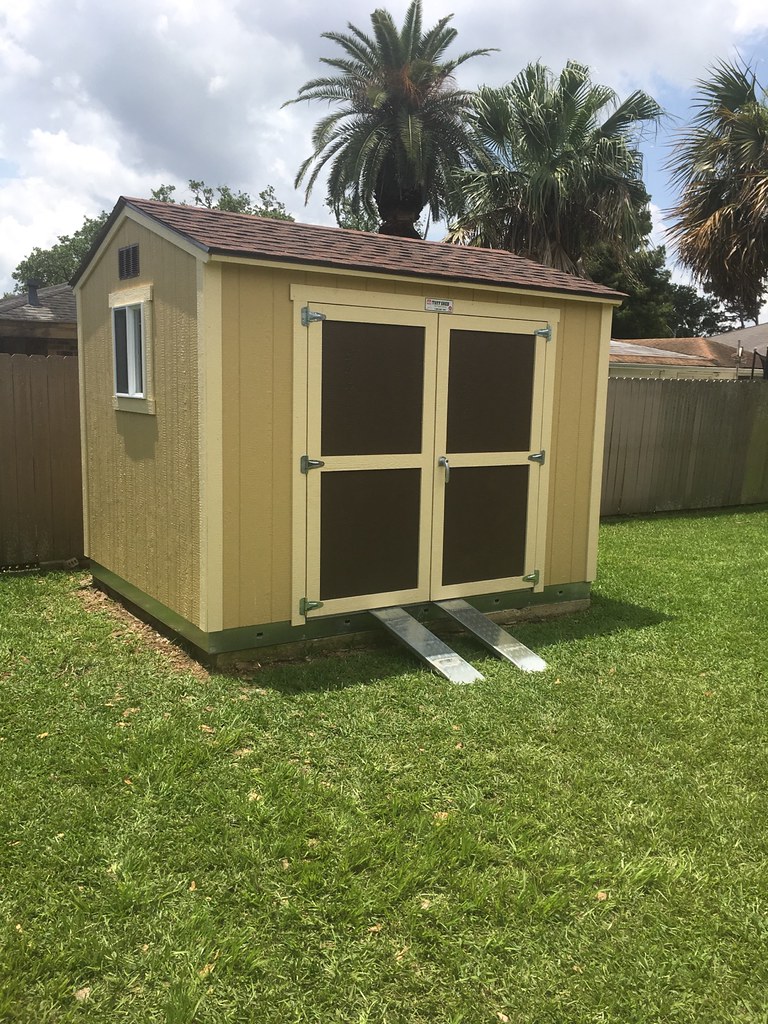
 Opening: Protecting Your Belongings with a DIY Tuff Shed Lock Security is paramount when it comes to safeguarding your valuable possessions stored in a Tuff Shed. While Tuff Sheds offer a degree of protection, enhancing their security with a robust locking mechanism is always a wise move. This post will guide you through a step-by-step process of creating a DIY lock for your Tuff Shed, adding an extra layer of defense against potential intruders. This method aims to reinforce the existing locking system, not replace it.
Materials and Tools You'll Need: Heavy-duty hasp (sized appropriately for your Tuff Shed door) Heavy-duty padlock (with a hardened steel shackle) Drill with appropriate drill bits (sized for your screws/bolts and the padlock shackle) Screws or bolts (preferably carriage bolts for added security) with washers and nuts Metal plate (for reinforcing the door where the hasp is attached) Measuring tape or ruler Pencil or marker Safety glasses Work gloves
Step 1: Assessing Your Tuff Shed Door and Existing Lock Carefully examine your Tuff Shed door and the existing locking mechanism. Identify a suitable location for the new hasp that complements the existing lock. Ensure there's enough space for the hasp to securely latch and that the door frame is solid enough to support the added security. Consider the placement in relation to the existing handle or latch to avoid interference.
Step 2: Preparing the Metal Plate (Optional but Recommended) The metal plate will add significant strength and prevent the hasp from being easily ripped off. Cut a piece of metal plate slightly larger than the hasp's mounting area. Drill holes in the metal plate that correspond to the mounting holes on the hasp. This plate will be installed on the inside of the door, reinforcing the area where the hasp screws or bolts will pass through.
Step 3: Installing the Hasp Position the hasp on the outside of the Tuff Shed door at the chosen location. Align it carefully with the door frame to ensure proper latching. Use the pencil or marker to mark the screw/bolt hole locations on the door. Drill pilot holes at the marked locations. If using the metal reinforcing plate, position it on the inside of the door behind the hasp location. Attach the hasp using the screws or bolts, washers, and nuts, sandwiching the door between the hasp and the metal plate. Tighten securely. If using carriage bolts, ensure the rounded head is on the outside for added security.
Step 4: Testing and Adjusting the Hasp After installing the hasp, test its functionality. Ensure the latch engages smoothly and securely with the hasp. If necessary, make minor adjustments to the hasp's position by loosening the screws/bolts slightly and repositioning. Retighten once the latching is satisfactory.
Step 5: Adding the Padlock Insert the padlock through the hasp's locking loop. Ensure the padlock shackle is properly sized and that it closes securely. Test the entire locking mechanism to ensure it functions smoothly and provides a secure closure.
Step 6: Final Inspection and Reinforcement Thoroughly inspect the entire installation. Check for any loose screws/bolts and tighten them. Consider adding additional security measures, such as reinforcing the door frame or adding a second hasp and padlock. Periodically check the locking mechanism for wear and tear and maintain it as needed.
Conclusion: Enhanced Security for Peace of Mind By following these steps, you've created a DIY locking system that significantly enhances the security of your Tuff Shed. This added layer of protection provides peace of mind, knowing that your belongings are better shielded from potential theft or damage. Remember to regularly inspect and maintain your DIY lock to ensure its continued effectiveness. Always consider professional security solutions if you require a higher level of security.
Img_8676
 www.flickr.com
 Introducing Our Newest Options
www.tuffshed.com Image1
 www.flickr.com

0 Comments